Swift:起動画面を作る(Xcode)
起動画面"LaunchScreen"をつくる
起動時のスプラッシュ画面を作る時は、Main.storyboardとLaunchScreen.storyboardにimageを設定します。
今回は、launchimage1.pngとlaunchimage2.pngという2枚の画像を用意して、起動時に2枚の画像を切り替えて表示するだけの簡単なアプリを作ります。
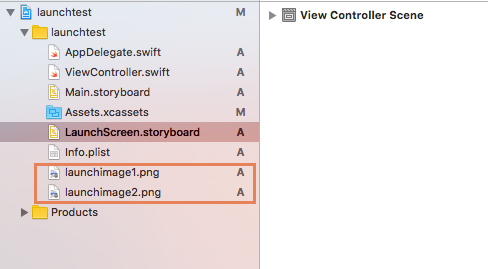
LaunchScreen.storyboardの設定
LaunchScreen.storyboardには起動時のスプラッシュ画面で表示する画像を設定します。
LaunchScreen.soryboardにスプラッシュ画面の画像を設定しておくと、画面遷移の処理など書かなくても自動でMain.storyboardに遷移してくれます。
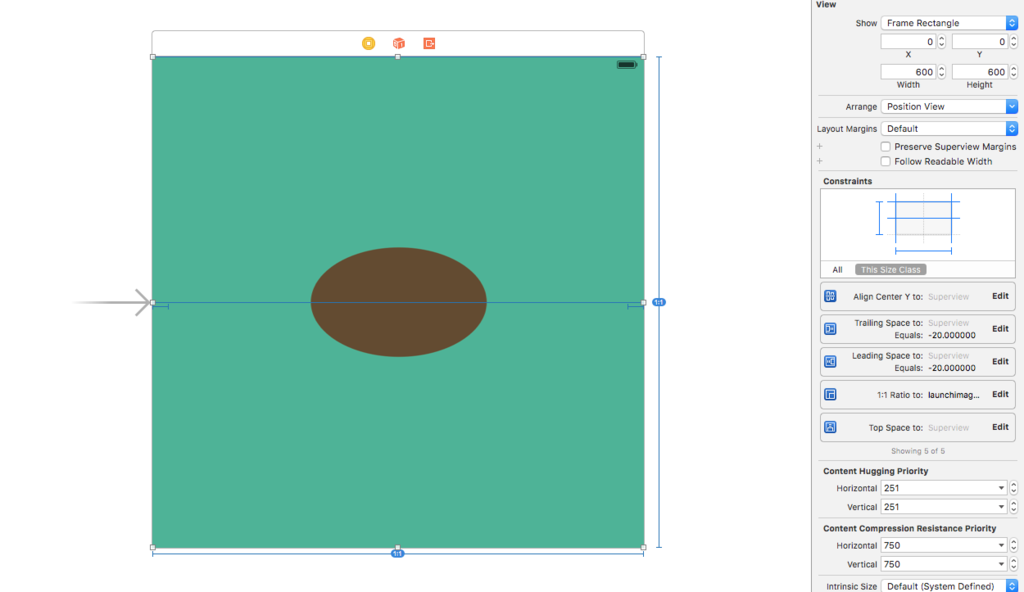
1.LaunchScreen.storyboardにImageViewをこのように全面に配置します。
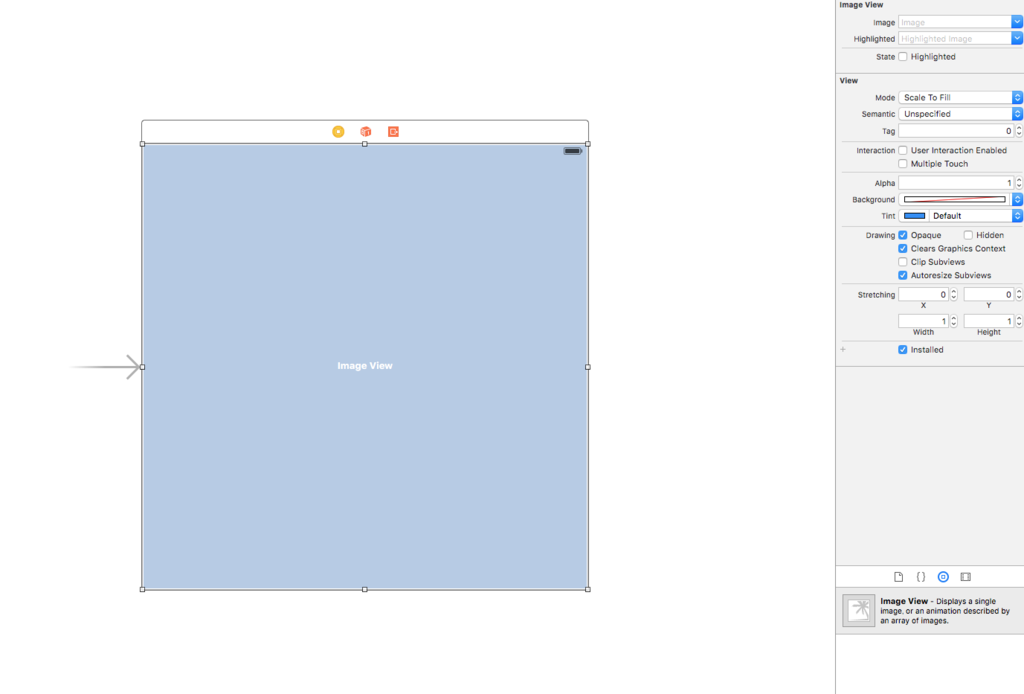
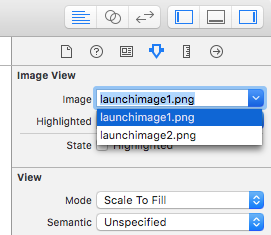
ImageViewのimageに用意した起動時の画像を指定します。
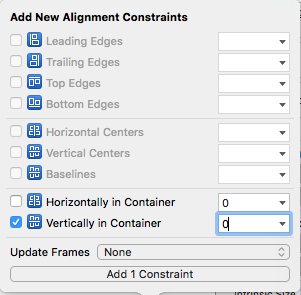
2.ImageViewにConstraintsを追加します。
全面に画像を配置したいので以下のようにConstraintsを追加します。
Constrain to marginsのチェックを外して
Trailing Space = 0 (右)
LeadingSpace = 0 (左)
Top Space = 0 (上)Aspect Ratioにチェック

- Vertically in Container = 0 (y軸)
LaunchScreen.storyboardの設定は以上です。
Main.storyboardの設定
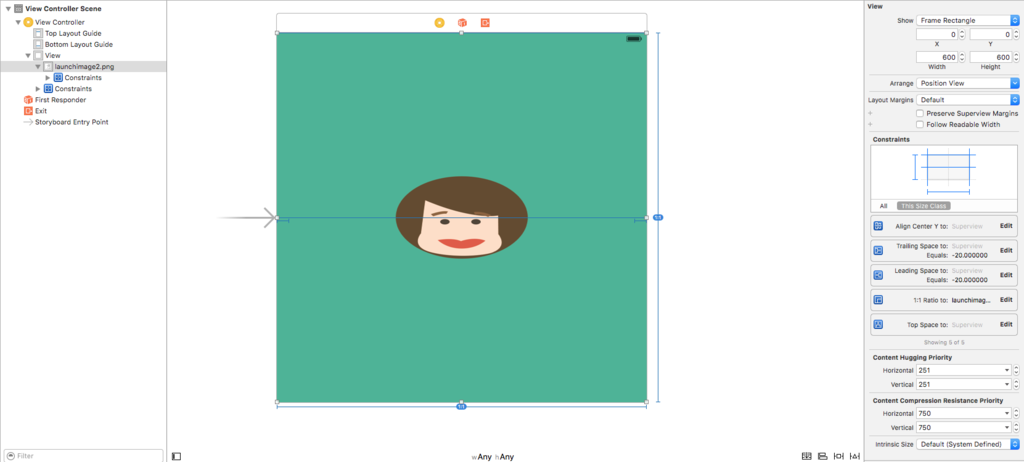
と言っても、LaunchScreen.storyboardと同じ設定をするだけです。
ImageViewを追加、ImageViewのimageに用意していた画像(起動後)を設定、制約(Constraints)を追加してください。
実行
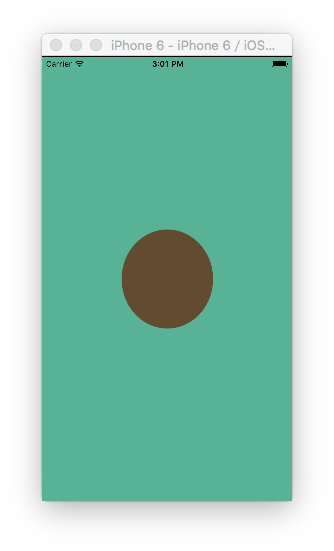
起動時(7ちゃんの後ろ姿)
起動後(7ちゃんが前向いた)
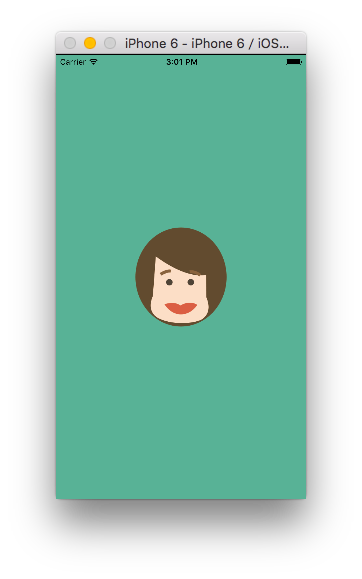
こんなアニメーションっぽいことも簡単にできちゃいました。